

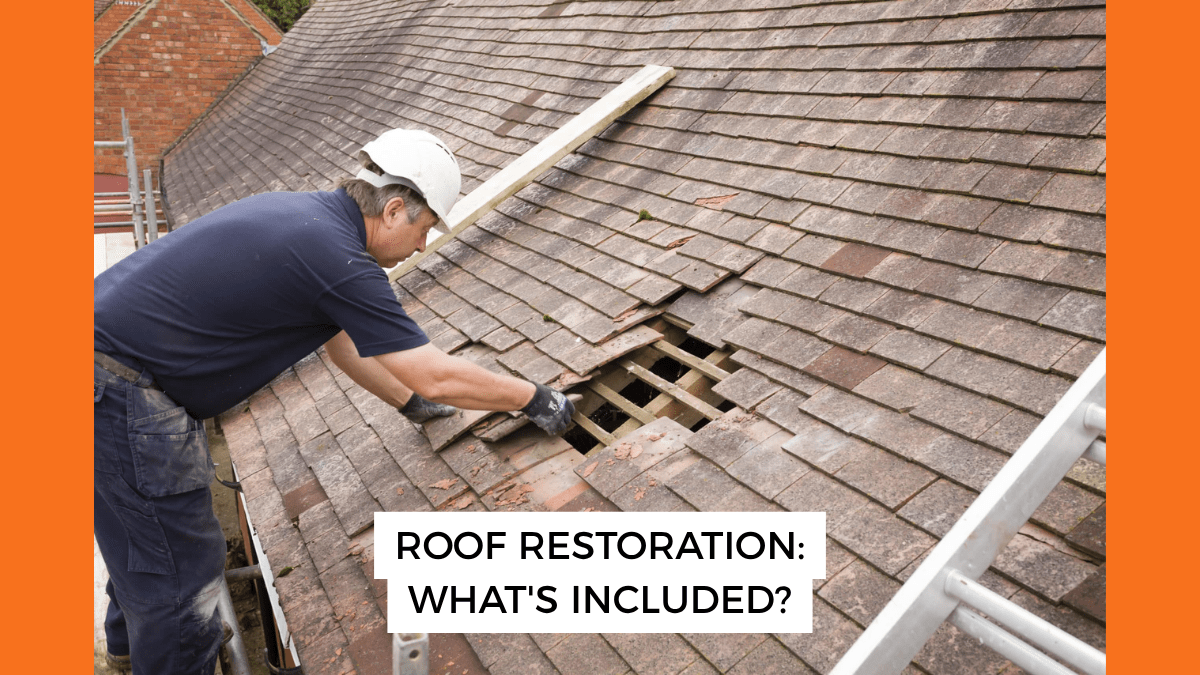
What Does a Roof Restoration Include? A Step-by-Step Breakdown
Most homeowners approve a roof restoration in Melbourne without knowing exactly what happens on the day. That’s understandable – roofing isn’t something most people deal with regularly. But understanding the roof restoration process before you commit means you can ask the right questions, identify a thin scope of work, and know whether the job being quoted is actually the job your roof needs.
Here’s what a professional roof restoration involves, step by step.
What You're Actually Paying For
A roof restoration isn’t a single service. It’s a sequence of interdependent steps, each one preparing the surface for the next. Skip or rush any step, and the quality of everything that follows is compromised. This is why two quotes at very different prices often don’t cover the same scope of work. A proper tile roof restoration follows all five steps below, in order, without shortcuts.
The 5 Steps in a Professional Roof Restoration
Step 1: Roof Inspection and Assessment
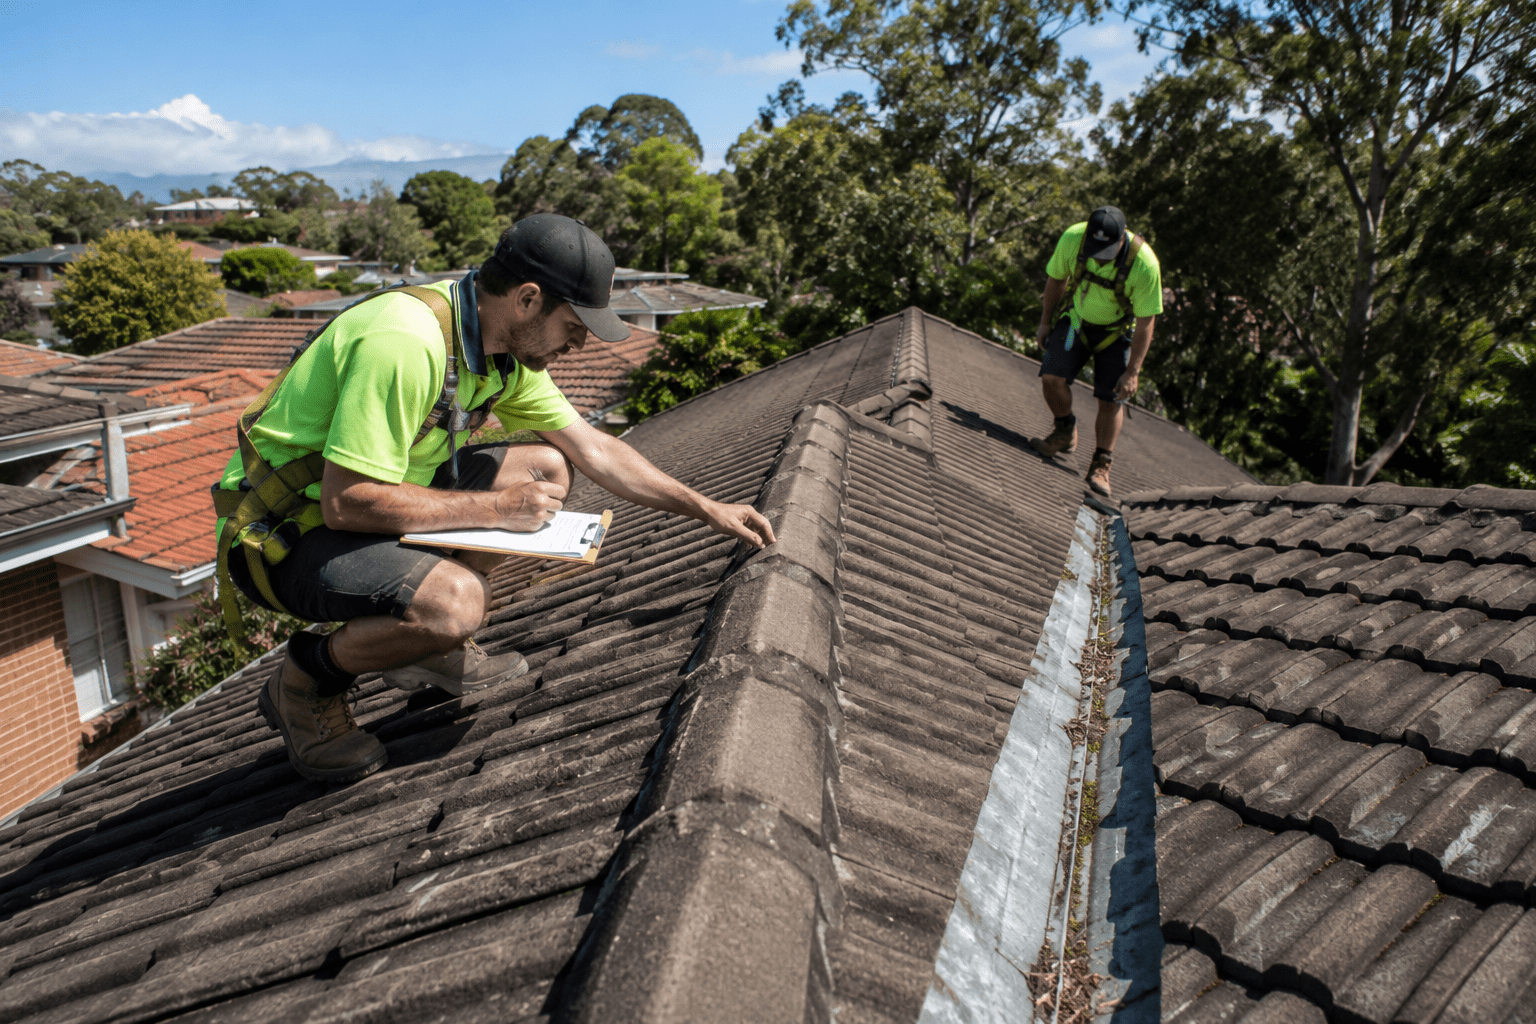
Before any work begins, a thorough inspection establishes what the roof actually needs. The roofer is checking for cracked or slipped tiles, rusted or deteriorating valley iron, compromised ridge capping, signs of water ingress, and any structural issues that need to be addressed before restoration work can start.
This step determines the full scope of everything that follows. A roof with significant tile damage or failing ridge caps requires more repair work in Steps 3 and 4 before cleaning and coating can begin. Without a detailed roof inspection, any quote is largely based on guesswork rather than a clear understanding of the roof’s actual condition. Problems that should have been caught early get coated over instead, and the homeowner only finds out when things fail.
For tile roof restoration specifically, the inspection is also where the condition of the bedding and pointing under the ridge caps is assessed, one of the most commonly underscoped areas in cheaper quotes.
Step 2: High-Pressure Cleaning
Once the scope is confirmed, the roof is cleaned using high-pressure water. This removes moss, lichen, dirt, biological growth, and any remnants of old coating that have started to peel or chalk.
Coatings bond to the tile surface, not to whatever is sitting on top of it. Lichen on roof tiles that isn’t fully removed acts as a barrier between the primer and the surface. Primer applied over a contaminated or damp surface fails to bond, and the coating that follows peels within months rather than lasting years. The same applies to moss on roof surfaces that have been left untreated for extended periods.
After cleaning, the roof needs adequate drying time before any further work proceeds. This is one of the key reasons autumn is the preferred season for roof restoration in Melbourne – mild temperatures and lower humidity allow the surface to dry thoroughly between stages.
Step 3: Repairs to Tiles, Valleys, and Damaged Areas
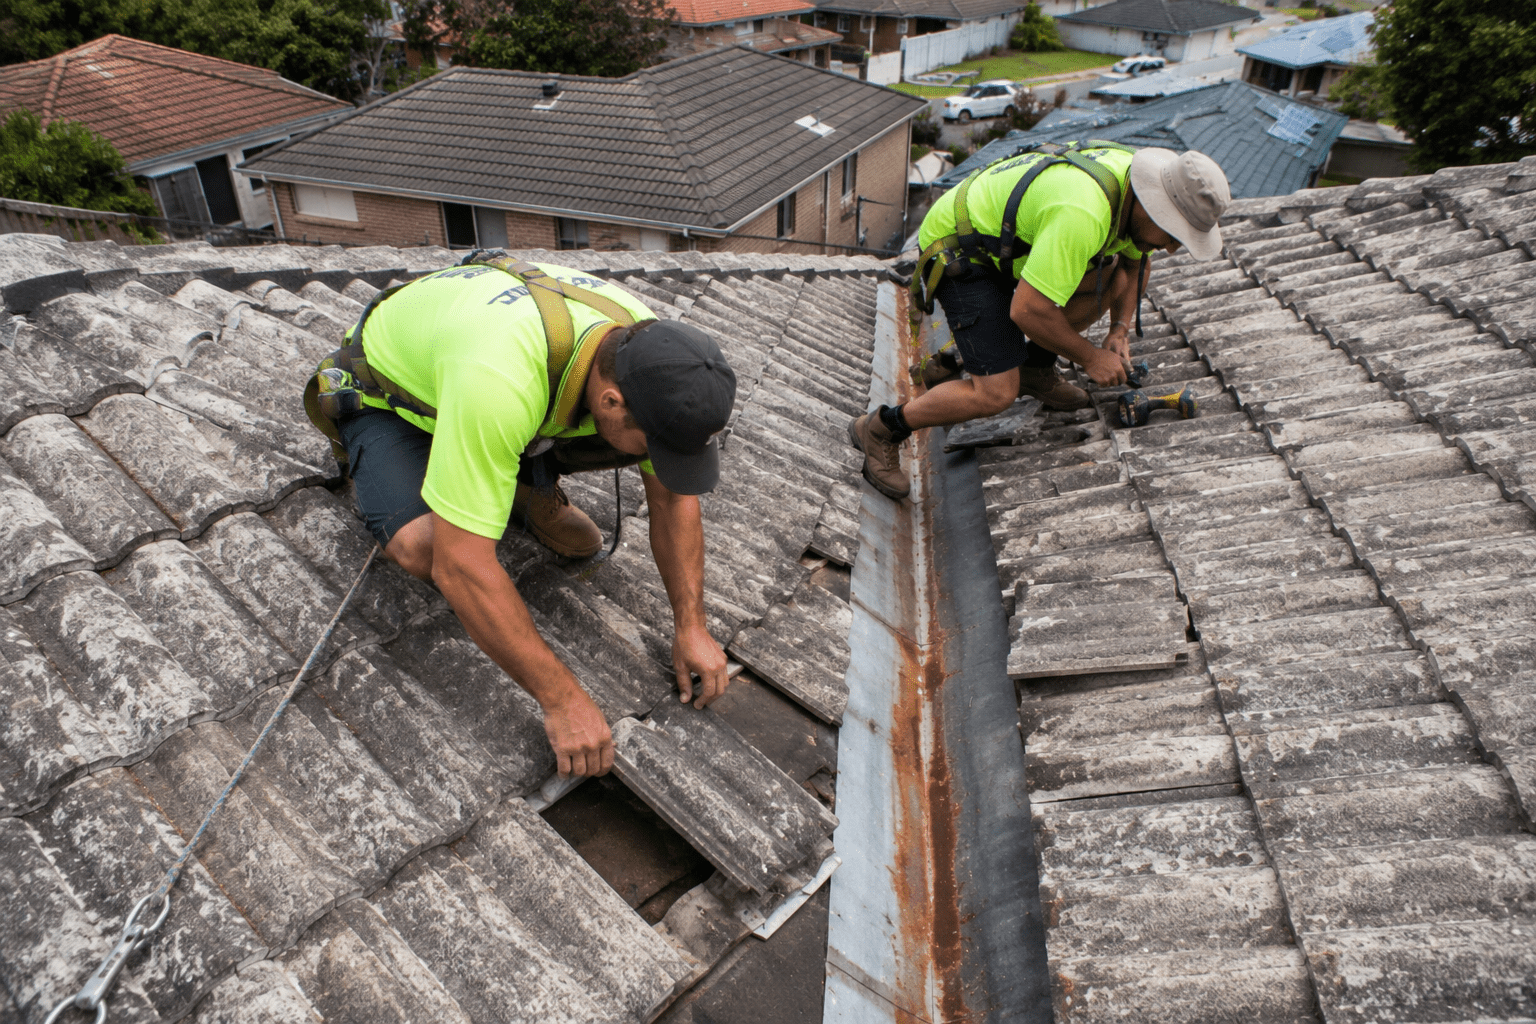
With the roof clean and dry, repairs are carried out before any coating work begins. This typically covers replacing cracked or broken tiles, resetting slipped tiles that have shifted out of position, and treating or replacing rusted valley iron.
Cracked roof tile repair is critical at this stage. Coating over a damaged tile may hide the issue temporarily, but it can also trap moisture beneath the surface, increasing the risk of leaks and structural damage over time. What starts as a simple repair can quickly become a much larger problem.
The same applies to valley iron. Rusted valleys are a common source of leaks and can be easily overlooked when the rest of the roof appears sound. Repairing or replacing them as part of the restoration process, rather than coating over them, is what separates a thorough restoration from a purely cosmetic one.
Step 4: Re-Bedding, Repointing, and Ridge Capping
Re-bedding and repointing are two distinct tasks that work together, and this is the step most commonly cut from low-cost quotes.
The bedding is the mortar base that physically holds each ridge cap in position. Over time, it dries out, cracks, and crumbles, and once the bedding fails, the ridge cap above it is no longer secured. Re-bedding removes the old mortar and lays a fresh base under each cap, restoring the structural foundation of the ridge line.
Roof repointing then applies a flexible pointing compound over the top to seal the joint between the cap and the mortar. Unlike the cement bedding underneath, the pointing compound is designed to flex with temperature changes rather than crack under pressure. Repointing roof tiles without re-bedding first is ineffective if the bedding has already failed. The pointing seals the surface, but the underlying instability remains.
Both are necessary when the bedding is compromised. Ridge capping that looks intact from the ground can be loose, and caps that aren’t properly secured will eventually lift, shift, or fall, leaving the ridge line exposed. Roof pointing listed as a single line item in a quote is worth querying: ask specifically whether re-bedding is included or whether the quote covers pointing only. They are different tasks with different costs.
Step 5: Protective Coating Application
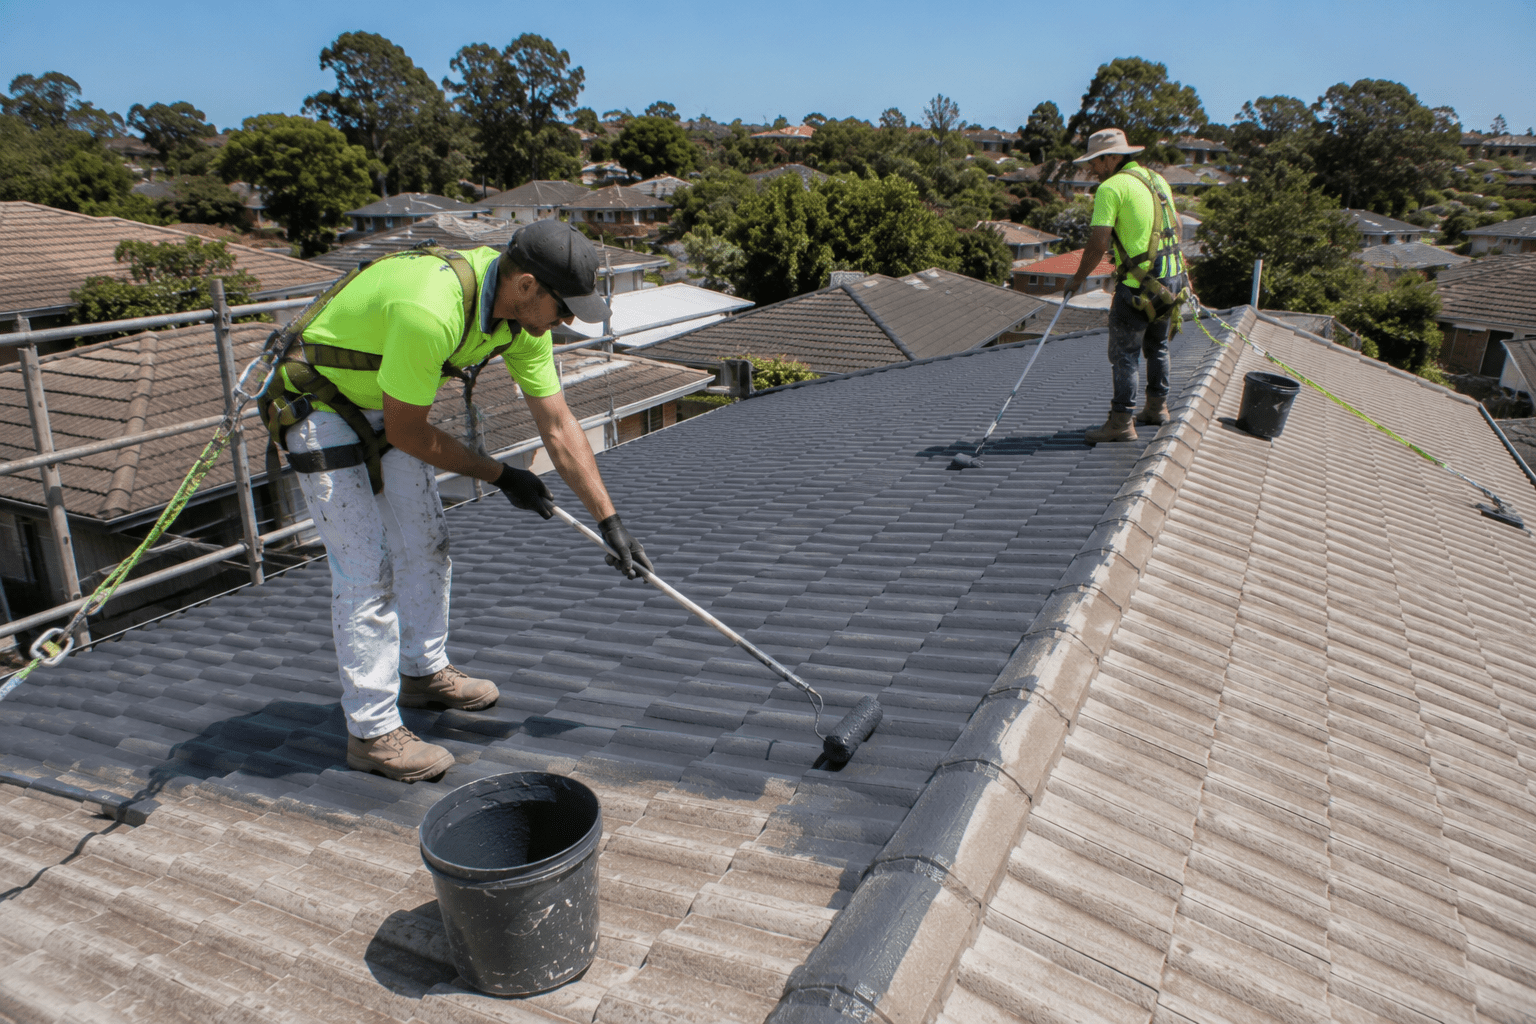
With the surface clean, repaired, and structurally sound, the coating is applied in layers. A primer coat goes down first to bond to the tile surface and seal any remaining porosity. One or two topcoats follow, depending on the condition of the roof and the product being used.
The primer is not optional. A topcoat applied directly to bare tile without primer has nothing to anchor to and will begin to peel under UV and weather exposure. Coats that are thinned out to cover more surface area faster are another common shortcut; the coverage looks similar on the day, but the film thickness is insufficient to protect the surface over time.
A properly applied coating restores the roof’s appearance, prevents water ingress, blocks UV damage, and significantly extends the life of the tiles. It should last many years, but only when all four preceding steps have been done correctly.
What Does a Roof Restoration Cost in Melbourne?
Roof restoration cost varies depending on roof size, tile condition, and the extent of repairs required, particularly how much re-bedding and repointing work is needed. Be wary of quotes substantially lower than others without explanation. A lower price usually reflects a reduced scope: repointing without re-bedding, or cleaning treated as a quick pass. Understanding the five steps above makes it easier to spot the difference.
Ready to See What Your Roof Actually Needs?
If your roof is showing signs of wear, including moss or lichen growth, fading or chalking coating, cracked tiles, or deteriorating ridge caps, the first step is an assessment, not a quote. Our guide to the signs your roof needs restoration covers what to look for and what each sign typically indicates about the work required.
Find out more about our roof restoration service or book a roof inspection to get a clear picture of your roof’s condition and what a full restoration would involve.