

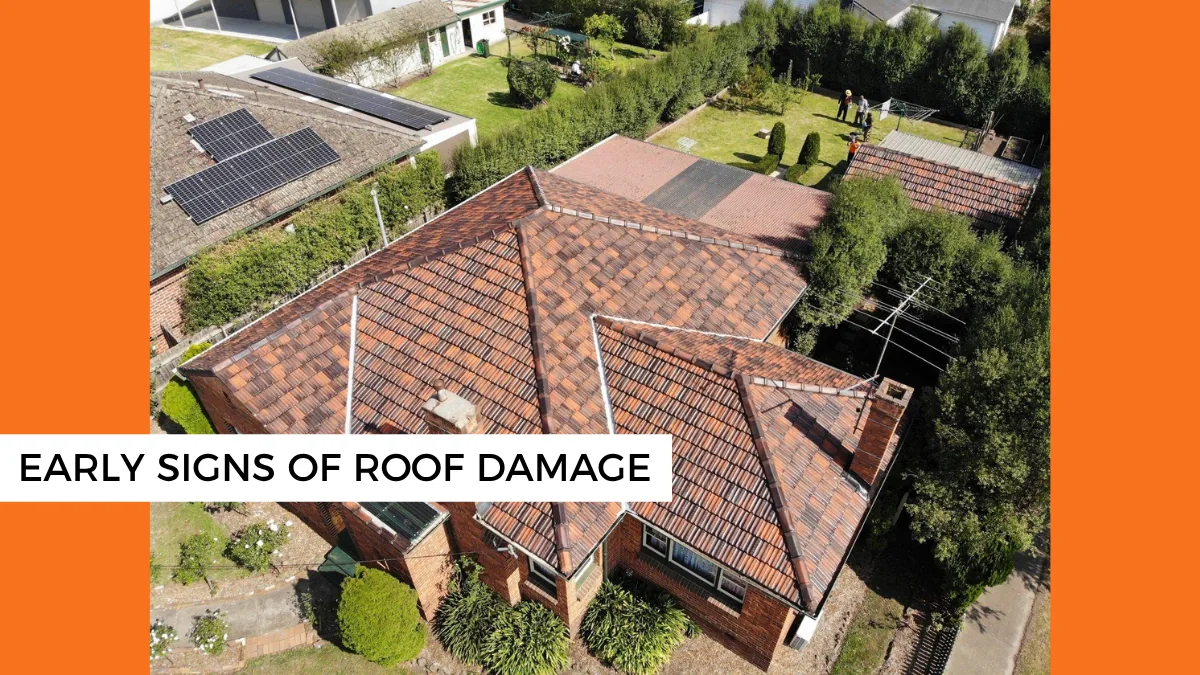
5 Warning Signs Your Melbourne Roof Needs Restoration
A roof restoration in Melbourne rarely comes out of nowhere. In most cases, the signs have been visible for months: moss spreading across the surface, coating that’s started to chalk, a tile that’s shifted out of position. The problem isn’t that the signs aren’t there. It’s that none of them feel urgent enough to act on until something forces the issue, and by then the repair is rarely as simple as it would have been.
If you’ve noticed something that doesn’t look right, this guide will help you work out what you’re dealing with.
The Real Cost of Ignoring Roof Restoration
The most common reason homeowners delay is that nothing seems urgent enough yet. The roof isn’t leaking badly, the tiles look mostly intact, and there are always other things to spend money on.
Roofing problems tend to get worse over time. Small signs of wear can allow water into the roof, leading to structural damage that is far more expensive to repair than the roof restoration cost of fixing the issue early.
A tile roof restoration carried out at the right time, when the signs are visible but the damage is still contained, is almost always the more cost-effective path. Waiting until the roof is actively failing isn’t saving money. It’s deferring a larger bill.
5 Signs It's Time for a Roof Restoration in Melbourne
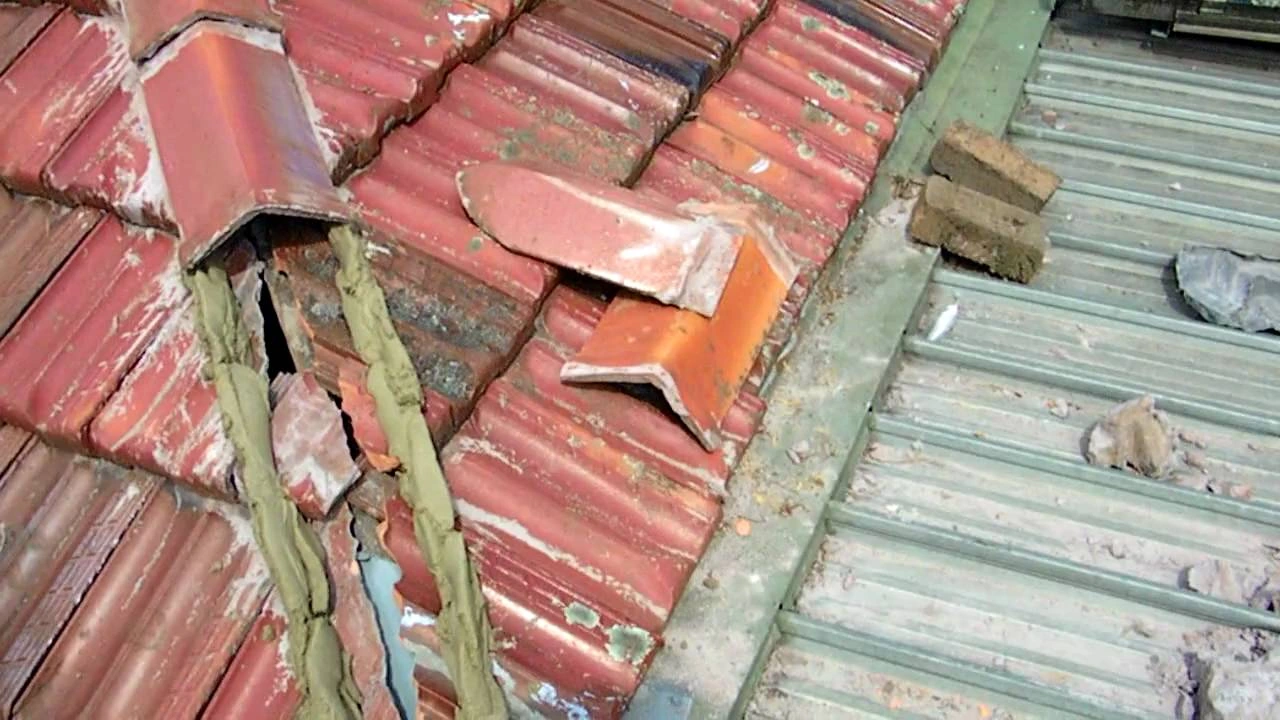
1. Cracked or Slipped Roof Tiles
Cracked or displaced tiles are one of the more visible signs that a roof needs attention, and one of the more commonly ignored.
What causes it: UV exposure, thermal expansion through Melbourne’s seasonal temperature swings, general age, and occasionally impact from debris or foot traffic. Tiles crack gradually and slippage occurs when the mortar or clips holding them in position deteriorate.
What it means if left: A cracked or missing tile breaks the weatherproof envelope of the roof. Water gets in under the tile line, saturates the sarking, and eventually works through to the ceiling structure. A straightforward roof tile repair can escalate into water damage affecting insulation, plasterboard, and roof framing.
What the fix involves: Cracked roof tile repair is carried out in Step 3, individual tiles are replaced or reset before cleaning or coating begins. The full extent of damage is confirmed during the initial inspection.
2. Moss or Lichen on the Roof Surface
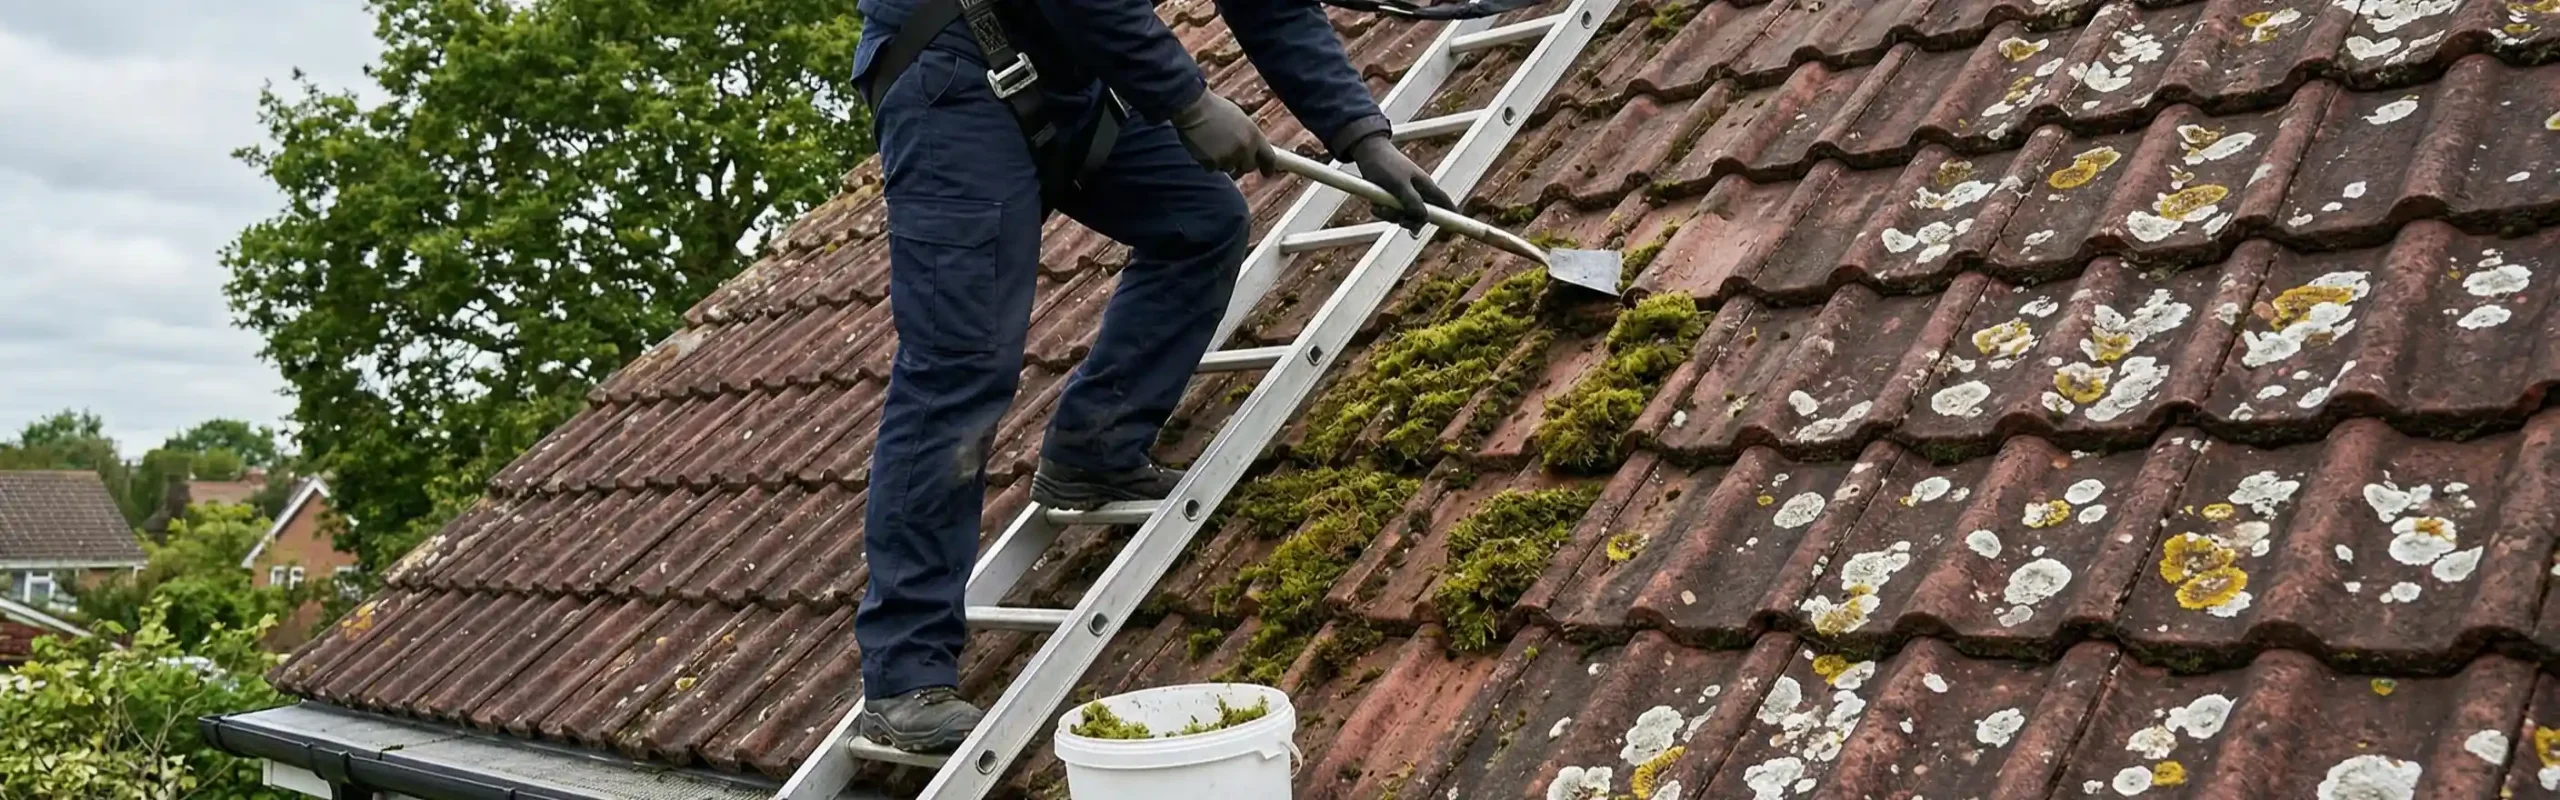
A green tinge across the roof is easy to dismiss as cosmetic, but it’s worth understanding what’s happening underneath.
What causes it: Shade, moisture retention, and organic debris – common in Melbourne’s leafier suburbs and on surfaces that don’t get consistent direct sun.
What it means if left: Moss on roof surfaces holds moisture against the tile, accelerating surface deterioration. Lichen on roof tiles is harder to shift, it roots into the tile surface, causing physical damage as it grows and becoming more difficult to remove the longer it’s left.
What the fix involves: High-pressure cleaning removes moss and the majority of lichen growth in Step 2. Heavily affected surfaces may need additional treatment before coating proceeds. The longer lichen on roof tiles is left, the more preparation work is required.
3. Fading, Chalking, or Peeling Roof Coating
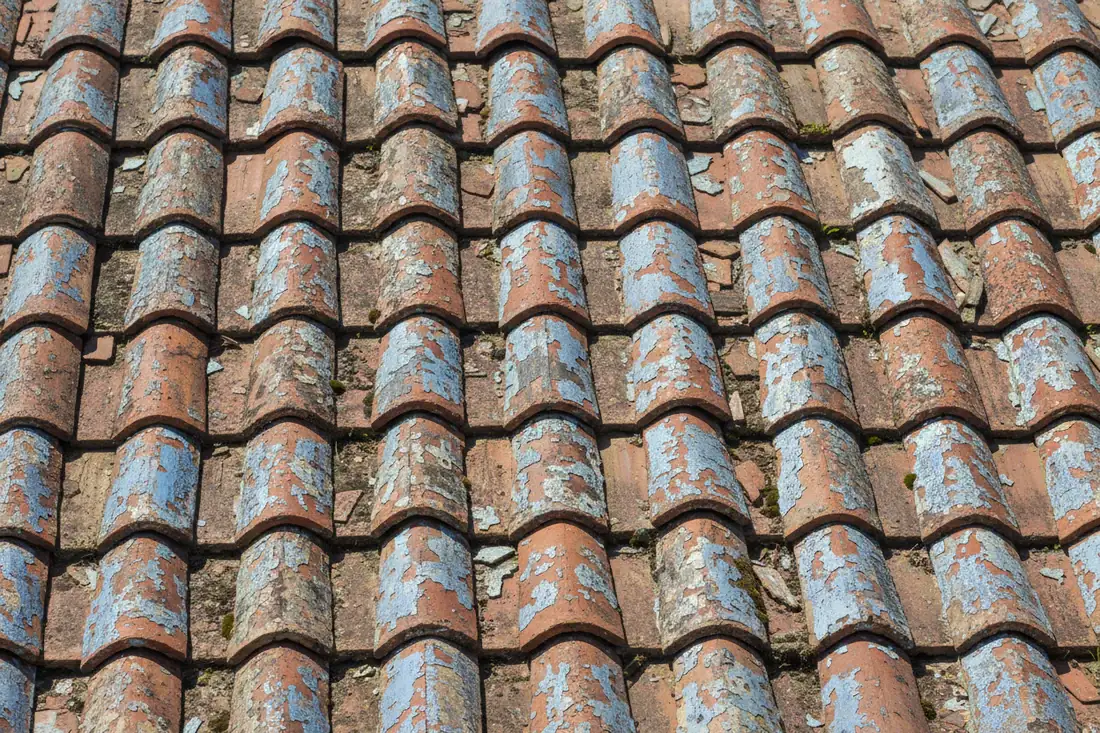
All roof coatings have a lifespan. Fading is the first stage of UV breakdown, chalking (a powdery residue that transfers to your hand) is the intermediate stage, and peeling means the coating has lost adhesion entirely.
What causes it: UV degradation over time, worsened by insufficient primer during the original application or coats thinned out to cover more area faster.
What it means if left: Once the coating fails, the tile surface is exposed to rain and UV without protection. Moisture penetrates more readily, organic growth takes hold faster, and the tile deteriorates at a faster rate.
What the fix involves: The existing coating is removed during high-pressure cleaning, the surface is re-primed, and fresh topcoats are applied as the final restoration stage. Catching fading or chalking early means less preparation work and a cleaner base for the new coating.
4. Water Stains on Interior Ceilings
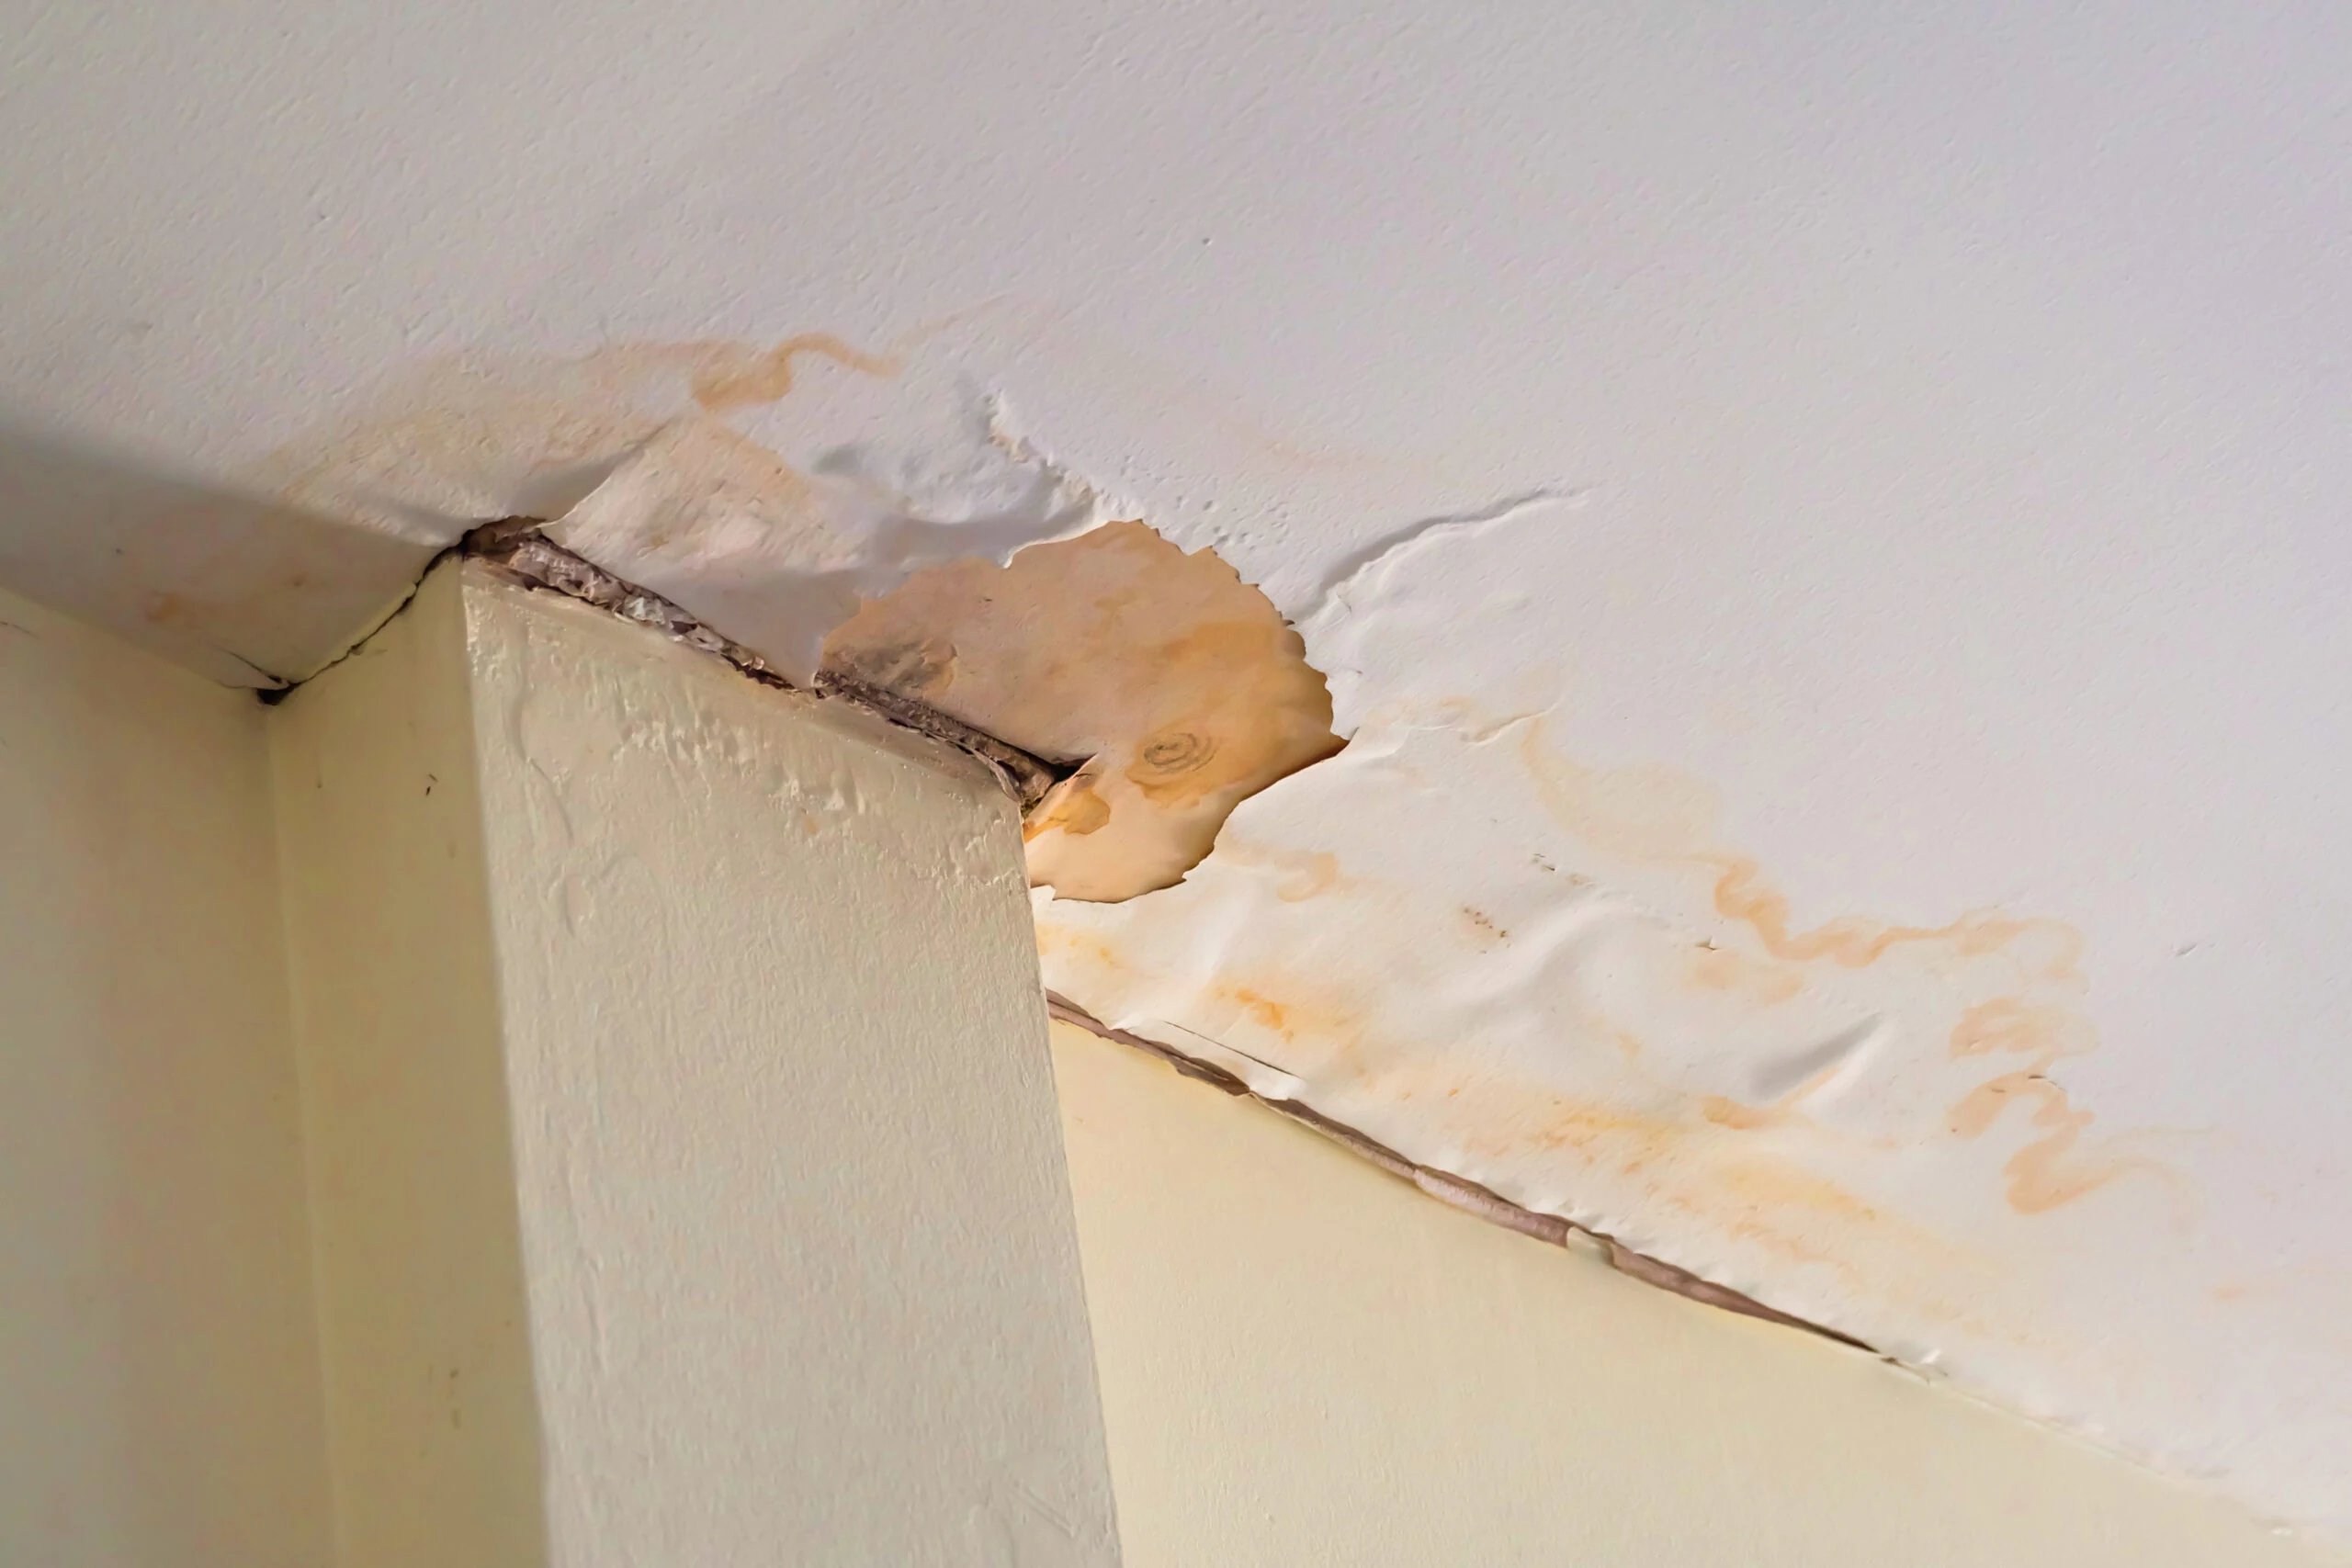
A water stain on interior ceilings tends to prompt action faster than most other signs, and rightly so. By the time moisture appears on a ceiling surface, the ingress has usually been happening for a while.
What causes it: Tile damage, failed valley iron, or deteriorating ridge cap mortar. Importantly, a water stain on a ceiling doesn’t always appear directly below the entry point; water travels along rafters and sarking before it drips.
What it means if left: Ongoing moisture in the roof cavity causes plasterboard to soften and stain, promotes mould growth in insulation, and over time compromises the structural timbers in the roof frame.
What the fix involves: The source of ingress is identified during the inspection and repairs are carried out in Step 3 or Step 4, depending on the cause. The restoration addresses the source, not just the visible symptom.
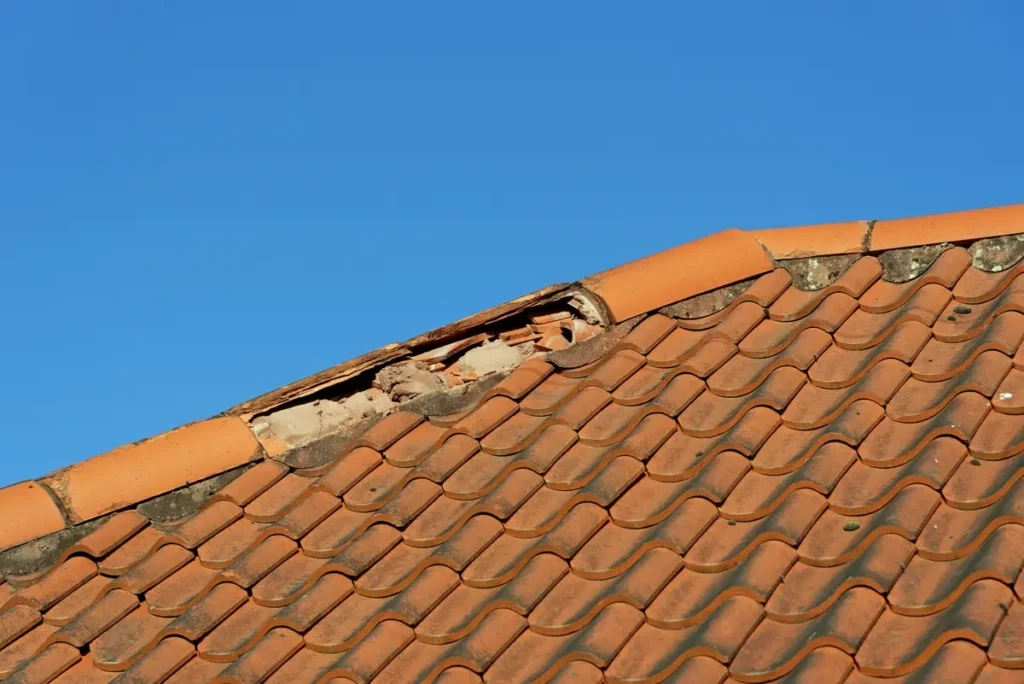
5. Deteriorating Ridge Caps and Crumbling Mortar
Ridge caps run along the peak of the roof and are among its most exposed points. The mortar bedding holding them in place and the pointing compound sealing the joint both degrade over time, and the deterioration is easy to miss from the ground.
What causes it: Melbourne’s temperature cycles cause the cement mortar bedding to expand and contract repeatedly over the years. Cement mortar isn’t flexible. It dries out, cracks, and crumbles. The roof pointing layer above it similarly loses elasticity and lifts from the surface.
What it means if left: Once the bedding fails, the ridge cap above it is no longer secured. Loose caps shift in wind and in more serious cases fall, leaving the ridge line exposed. Applying new pointing over failed bedding doesn’t solve the problem — if the structural base is compromised, the cap remains unstable.
What the fix involves: Re-bedding lays a fresh mortar base under each cap. Repointing roof tiles then seals the joint with flexible compound. Both steps are included in a full restoration, ridge capping issues are addressed in Step 4 before coating is applied.
How Many Signs Does It Take Before You Should Act?
Any one of these signs is enough to warrant a closer look. Two or more together usually means restoration is already overdue rather than approaching.
The practical question isn’t whether the problem is serious enough yet. It’s whether catching it now is better than catching it later. The signs of roof deterioration don’t stabilise on their own. They progress, and the window for a straightforward restoration narrows the longer it stays open.
Book a Roof Inspection Before It Gets Worse
If you’re seeing one or more of these signs, the next right step is an inspection to have a clear picture of what you’re dealing with. Once you know the condition of the roof, everything else follows from there.
Find out more about our roof restoration service and what a full restoration typically involves. Or if you’re ready to get started, book a roof inspection and we’ll assess your roof’s condition and let you know exactly what it needs.